Master the Three Essential Camera Settings

Photography can feel overwhelming when you first pick up a camera and encounter countless settings and technical terms. The exposure triangle serves as your foundation for understanding how cameras work and creating well-exposed images consistently.

The exposure triangle consists of three interconnected camera settings—aperture, shutter speed, and ISO—that work together to control how much light reaches your camera's sensor.

We often see beginner photographers struggle with achieving proper exposure because they don't understand how these three elements influence each other. When you adjust one setting, it affects the overall exposure, requiring you to compensate with the other two settings. This relationship forms the basis for all manual camera control.

Once we master this fundamental concept, we gain creative control over our images and can adapt to any lighting situation. Understanding the exposure triangle allows us to move beyond automatic modes and make intentional decisions about depth of field, motion blur, and image quality. This knowledge transforms photography from guesswork into purposeful artistic expression.

Mastering the Exposure Triangle: The Core Elements

The exposure triangle consists of three fundamental camera settings that work together to control how light enters your camera and affects your final image. These elements—aperture, shutter speed, and ISO—each serve distinct purposes while influencing exposure value, depth of field, motion capture, and image quality.


What Is the Exposure Triangle in Photography?

The exposure triangle in photography represents the relationship between aperture, shutter speed, and ISO settings. These three components work together to determine how much light reaches your camera sensor and how that light is captured.

When we adjust one element of the exposure triangle, we must compensate with the other two to maintain proper exposure. For example, if we open the aperture wider to let in more light, we might need to increase shutter speed or lower ISO values to prevent overexposure.


Understanding this balance allows us to make creative decisions rather than technical compromises. We can prioritize shallow depth of field by choosing a wide aperture, then adjust shutter speed and ISO accordingly. This interconnected relationship forms the foundation of manual camera control.


The exposure triangle explained simply: aperture controls depth, shutter speed controls motion, and ISO controls sensitivity. Each setting affects exposure while contributing unique visual characteristics to our photographs.


Understanding Aperture and F-Stops

Aperture refers to the opening in your lens that controls how much light passes through to the camera sensor. We measure aperture using f-stops, which are numerical values like f/1.4, f/2.8, f/5.6, and f/11.


Key aperture characteristics:

  • Wider apertures (lower f-stop numbers like f/1.4) = more light, shallow depth of field
  • Narrower apertures (higher f-stop numbers like f/11) = less light, greater depth of field

F-stops work inversely to what we might expect. An f/2.8 aperture is wider than f/5.6, allowing more light to reach the sensor. This wider opening creates a shallow depth of field, where our subject appears sharp while the background blurs.

We use wide apertures for portraits, macro photography, and low-light situations. The shallow depth of field helps isolate subjects from distracting backgrounds.


Narrow apertures work well for landscapes and architecture where we want everything in sharp focus. However, very small apertures like f/16 or f/22 can introduce diffraction, slightly reducing image sharpness.


Shutter Speed and Motion Effects

Shutter speed determines how long your camera sensor is exposed to light, measured in fractions of a second like 1/60, 1/250, or full seconds for longer exposures. This setting directly controls how motion appears in our photographs.


Fast shutter speeds (1/500 second or faster) freeze action and eliminate camera shake. We use these for sports photography, wildlife, or any situation where we want to capture sharp movement.


Slow shutter speeds (1/60 second or slower) can introduce motion blur, either from camera movement or subject movement. We can use this creatively to show motion in waterfalls, traffic, or moving subjects.


The relationship between shutter speed and camera shake follows a general rule: use a shutter speed faster than 1/focal length to avoid blur from hand movement. For a 100mm lens, we typically need 1/100 second or faster for sharp handheld shots. Motion effects depend entirely on our creative intent. Freezing a bird in flight requires fast shutter speeds, while capturing the flow of water benefits from slower speeds that create smooth, flowing effects.


ISO and Light Sensitivity

ISO settings control how sensitive your camera sensor is to light, with typical values ranging from ISO 100 to ISO 6400 or higher on modern cameras. Lower ISO values produce cleaner images, while higher values increase light sensitivity but introduce digital noise.


ISO 100-400: Ideal for bright conditions, outdoor photography, and situations where image quality is paramount. These settings produce minimal noise and maximum detail.


ISO 800-1600: Suitable for indoor photography, overcast conditions, or when we need faster shutter speeds in moderate light.


ISO 3200 and above: Reserved for low-light situations where we cannot use flash or slower shutter speeds. Higher ISO values create visible noise but allow photography in challenging lighting conditions.


Modern cameras handle high ISO values much better than older models. We can often use ISO 1600 or even 3200 without significant image quality degradation, depending on our camera's sensor capabilities.

The key is finding the lowest ISO that allows proper exposure with our desired aperture and shutter speed settings. This approach minimizes noise while maintaining the creative control we need for our specific photographic vision.


Applying the Exposure Triangle: Techniques and Creative Control

Mastering exposure triangle application involves balancing aperture, shutter speed, and ISO to achieve proper exposure while maintaining creative control. We can manipulate these settings to create specific artistic effects like shallow depth of field, motion blur, and sharp action photography across various shooting scenarios.


Achieving Proper Exposure: Balance and Trade-offs

Proper exposure requires understanding the trade-offs between aperture, shutter speed, and ISO. When we increase one setting to brighten the image, we must decrease another to maintain the same exposure level.


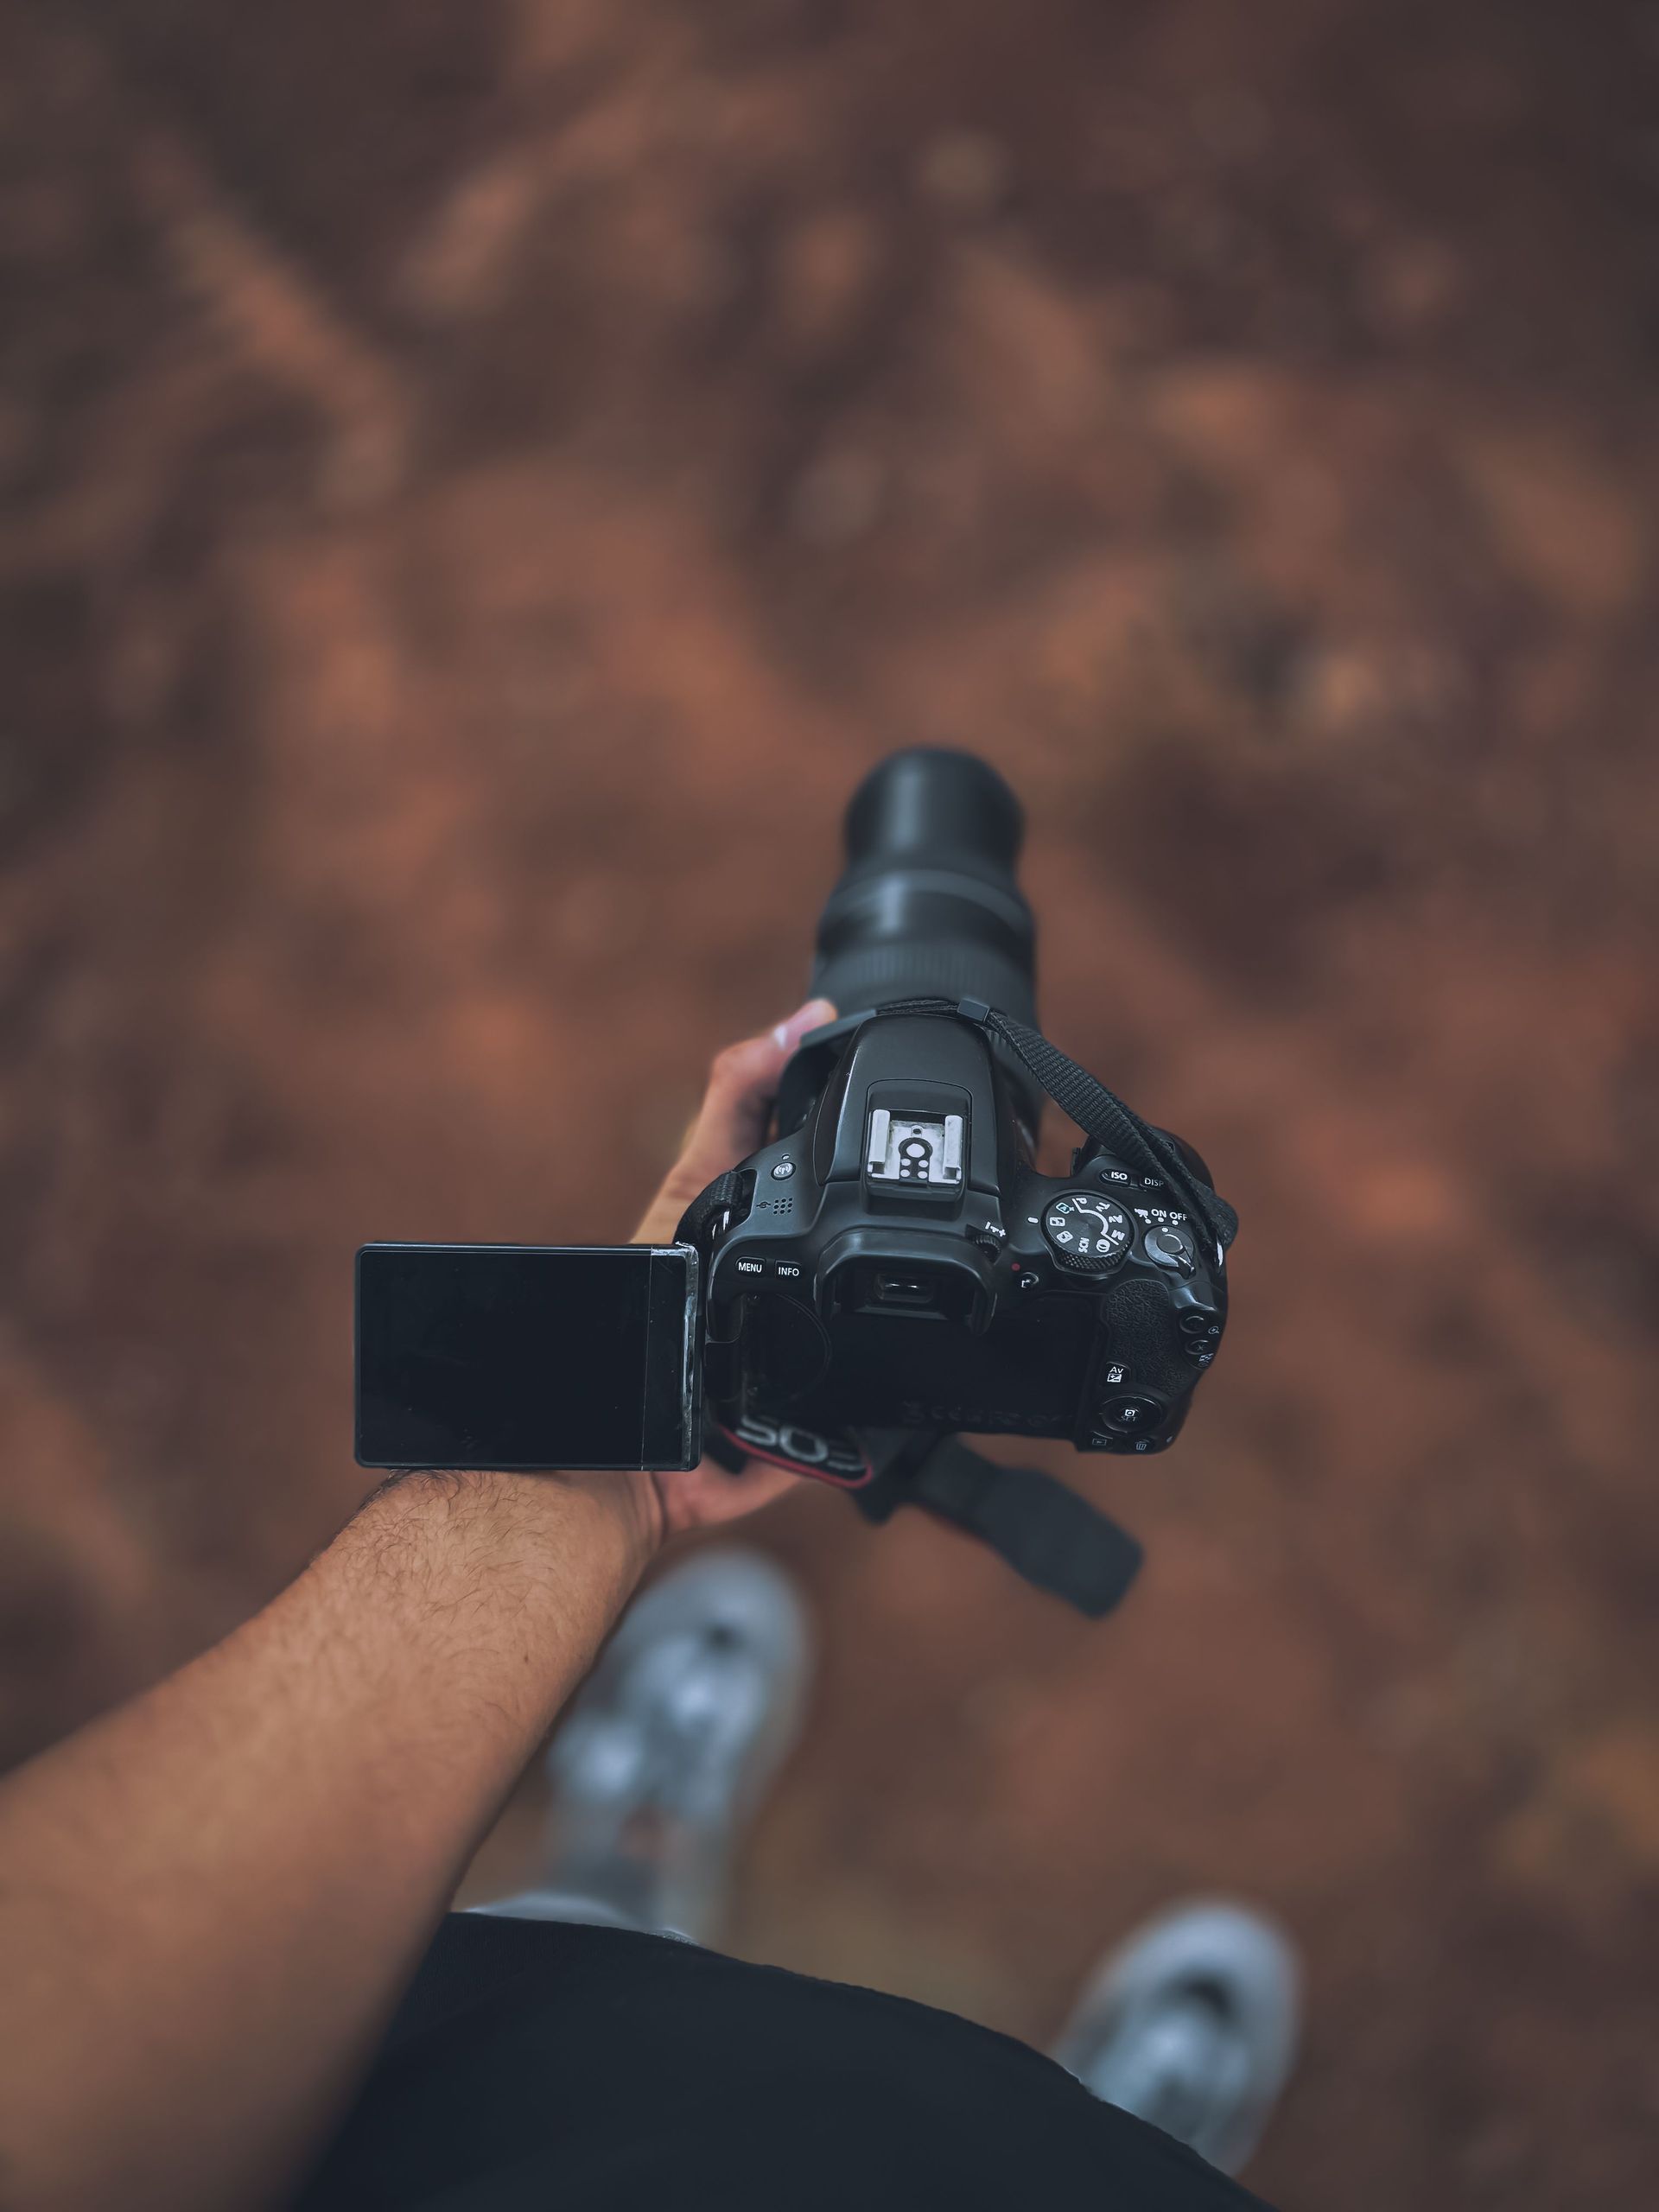
Manual mode gives us complete control over all three settings. We adjust each parameter independently while monitoring the camera's light meter or histogram to achieve our desired exposure. This mode works best when lighting conditions remain consistent.


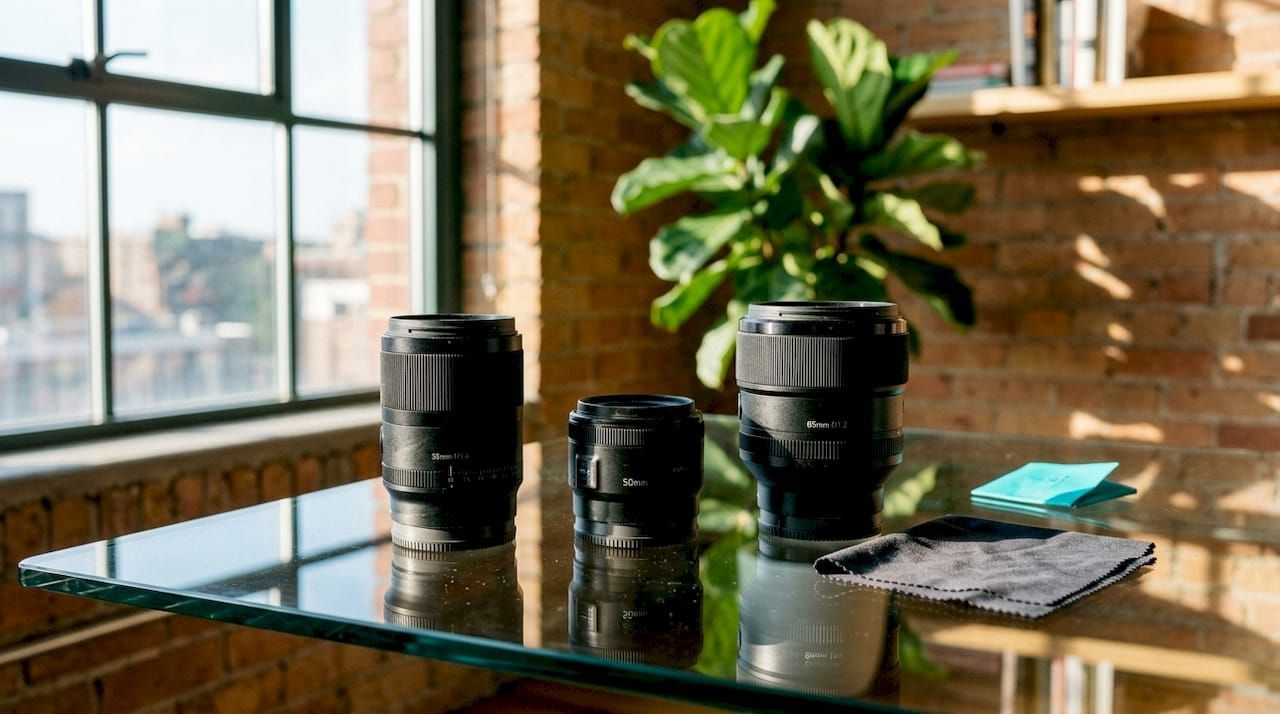
Aperture priority mode lets us set the aperture while the camera selects shutter speed. This proves useful when controlling depth of field is our primary concern. We might choose f/2.8 for portraits with background blur or f/11 for landscape photography where we want everything sharp.


Shutter priority mode allows us to control motion effects while the camera handles aperture selection. We use fast shutter speeds like 1/500s to freeze action in wildlife photography or slower speeds like 1/30s for intentional motion blur.

The key to avoiding underexposed or overexposed images lies in understanding these relationships. High ISO introduces noise but allows faster shutter speeds in low light. Wide apertures create shallow depth of field but may require faster shutter speeds in bright conditions.


Creative Uses: Depth of Field, Motion Blur, and Background Blur

Creative control emerges when we deliberately manipulate exposure settings beyond basic exposure needs. Each element of the triangle produces distinct visual effects that enhance our artistic vision.


Depth of field control relies primarily on aperture selection. Wide apertures like f/1.4 or f/2.8 create beautiful bokeh and background blur, isolating our subject from distracting elements. Narrow apertures such as f/8 or f/11 keep more of the scene in sharp focus, ideal for landscape photography where we want foreground and background detail.


Motion effects depend on shutter speed choices. Fast shutter speeds of 1/1000s or higher freeze motion completely, capturing sharp images of moving wildlife or sports action. Slower speeds create motion blur that conveys movement and energy. We might use 1/60s to show a cyclist's wheel spinning while keeping the rider sharp.


Long exposure techniques require exposure times of several seconds or minutes. We use tripods for stability and often employ bulb mode for exposures longer than 30 seconds. ND filters help achieve long exposures in daylight conditions. These techniques create light trails from car headlights or smooth water surfaces in seascapes. ISO selection affects image quality and creative possibilities. Low ISO values like 100-400 produce the cleanest images with minimal noise. High ISO settings enable handheld shooting in challenging light but introduce grain that some photographers use as a creative element.


Exposure Triangle in Different Scenarios and Camera Modes

Different photography scenarios demand specific approaches to exposure triangle application. Understanding these requirements helps us make informed decisions about camera settings and shooting modes.


Landscape photography typically benefits from narrow apertures (f/8-f/16) for maximum sharpness and depth of field. We often use low ISO values and accept slower shutter speeds, mounting our camera on a tripod for stability. Program mode can work for beginners, but aperture priority gives better creative control.


Wildlife photography requires fast shutter speeds to freeze action, often 1/500s or faster. We frequently shoot wide open (f/2.8-f/5.6) and accept higher ISO values to achieve proper exposure. Shutter priority mode proves most effective when animal behavior changes rapidly.


Night photography pushes exposure triangle limits. We might use wide apertures, high ISO (1600-6400), and long exposures. For night landscapes, we balance these settings carefully - perhaps f/2.8, ISO 3200, and 20-second exposures to capture stars without trailing.


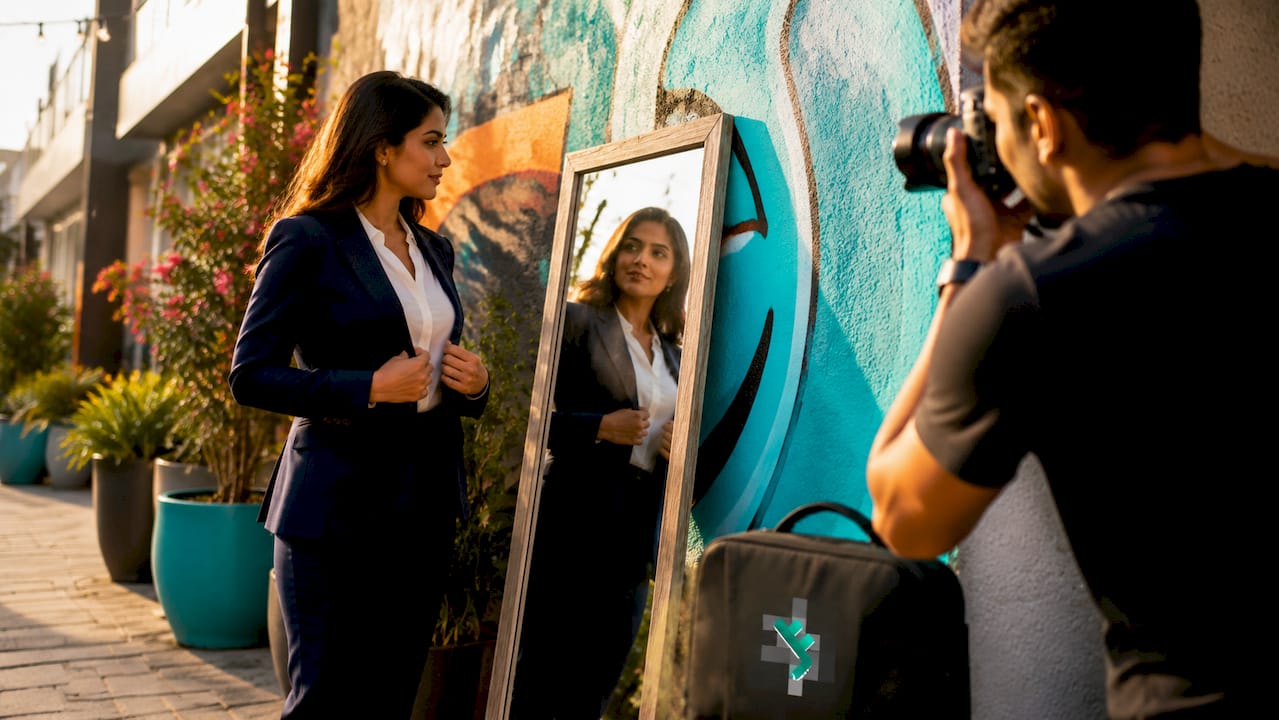
Portrait photography emphasizes shallow depth of field using wide apertures like f/1.8-f/2.8. We maintain fast enough shutter speeds to avoid camera shake when shooting handheld, typically 1/60s or faster depending on focal length.

Exposure bracketing helps in challenging lighting conditions with high dynamic range. We capture multiple exposures and blend them for optimal results. This technique proves especially valuable in architectural and landscape work where shadows and highlights exceed our camera's capabilities.

You might also like

Book a Service Today